
 This little mount caught my attention right away from its first appearance on the market some year (or two) ago. I simply love small but powerful astro-toys. But that time I was still using my old HEQ-5 SynScan from Sky-Watcher for occasional airline travel to dark (and mainly clear sky) locations to do some astrophotography. Also, I wanted to wait for first users’ experience – what a contrast to today when I am the first owner of this mount in Europe. Simply put, the mount has been there for a while and this „Pro“ version is the second generation so hopefully it would be mature now. I’ve been waiting for it for over 6 months.
The mount arrived in two, rather small boxes (weighting 8 and 12kg). The first one contained the iEQ30Pro’s head (6.9kg) and counterweight shaft (666g) while the second one contained the tripod, one counterweight (4.5kg), cables and standard accessories (RS-232 cable, handbox cable, DEC drive cable, power cable (12V), power cable (110/220V), polar scope illuminator cable, extension shaft and a printed copy of quick start guide). Full user’s manual is available from iOptron’s website as well as ASCOM drivers and firmware updates. Because I must always have something non-standard, my delivery was missing the Hand Controller (Go2Nova 8407+) and Tripod Support which was delivered to me in a separate package later, right after I claimed these missing parts.
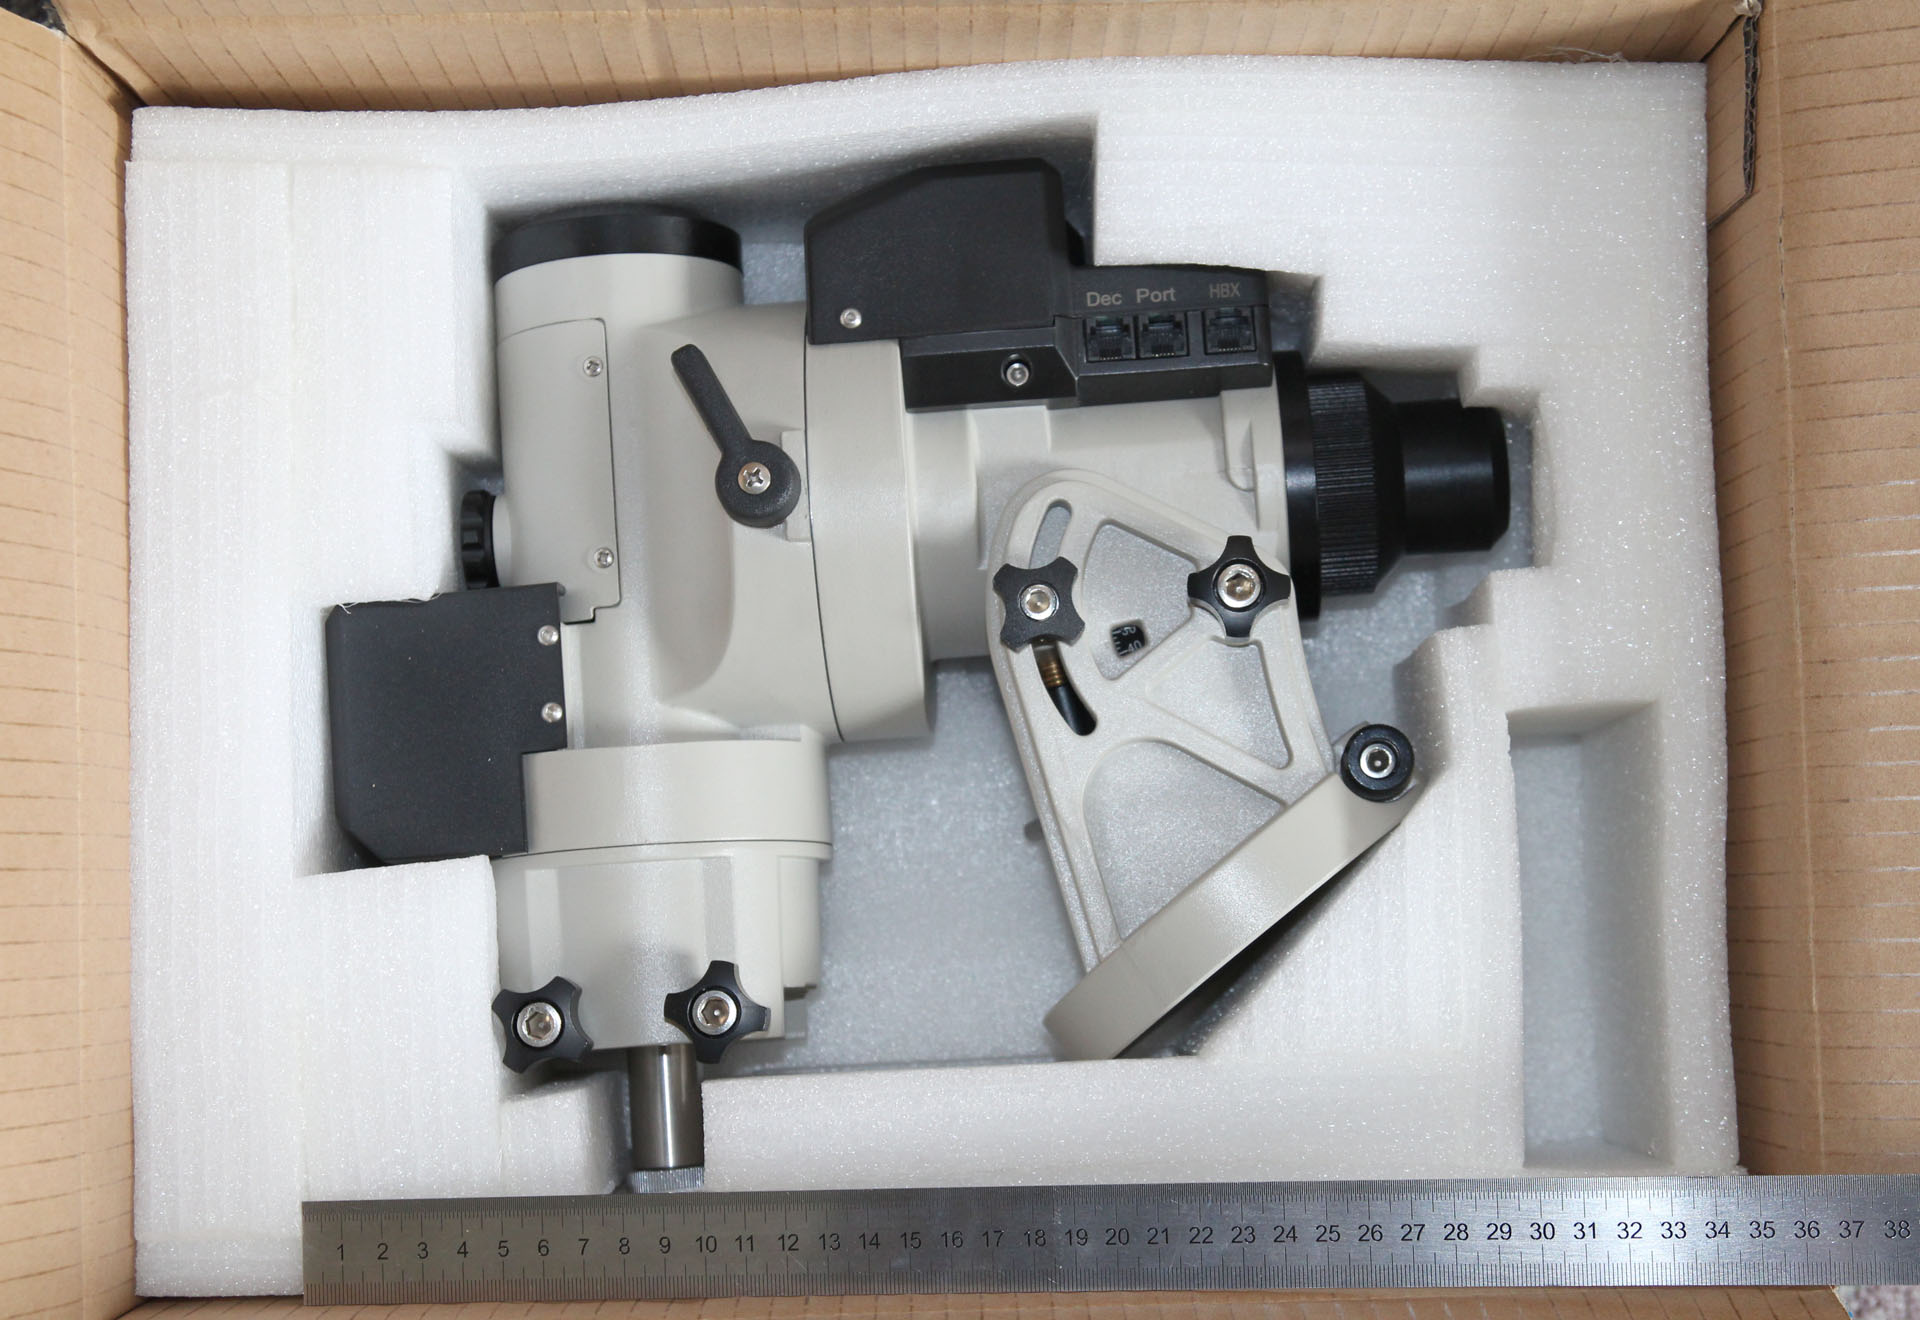

First impression. The mount head is really small and lightweight and therefore easily portable. The color is not exactly white as I expected from pictures, but rather light-grey, the counterweight is black. Surprising was that the mount head is not fixed on the tripod’s top by the center screw as that doesn’t have any threads – it has smooth surface, just like the alignment peg. The mount is attached and secured via two AZ locking screws on side of the bottom plate of the mount. The bubble level indicator on the mount head is harder to use due to not enough (comfortable) clearance below the polar scope. The latitude adjustment knob is somehow difficult to use too due to limited clearance around the knob (but it’s not a big deal as the minor adjustments are fine and easy, just major adjustments are a harder task).
Connecting the cables is easy and straightforward though I advice to really carefully read the instructions manual (at least the short quick start). It’s very nice to have again a mount that only requires power supply cable, handbox cable, DEC drive cable and optionally (in my case mandatory as I never ever used ST-4 guide port at all) the RS-232 cable to connect the mount to the computer over ASCOM platform. When I first time powered on the mount and press RA/DEC buttons to play with it, to slew in both axis, I was very well surprised of a nice sound from the motors. It’s also very silent and looks very smooth and precise. Compared to my previous HEQ-5 (not taking into account that I owned a Losmandy and currently own a Gemini 53 friction mount as my main mount) the fit and finish and “manufacturing quality” looks very well.

As I was lazy (and too busy at work) to read carefully full user’s manual, it took me a little time to figure out why the mount, after powering on, doesn’t track even though the controller says SDRL which stands for sidereal rate of tracking. The trick is to press button 0 (zero) to toggle between Tracking and Stop (initial) mode. The keys 1-9 change the slewing speed (64x after powering on). Menu, Enter and Back buttons are self explanatory and I must admit it’s really easy to learn how to operate it and navigate through the menus. Really nice. Additional nice feature is the light-bulb button (symbol of a Sun) which turns on red flashlight on the back of the Hand Controller. This deserves a praise to iOptron (on the other side, the reticule (polar scope) illuminator power will be prone to water-damage from condensing dew as it’s located on upper surface next to power on button which is definitively not a good design).
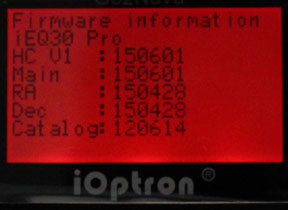
First thing that I advice a new owner to do is to make a firmware upgrade. This is really well documented on iOptron’s website in the support section. Interestingly there are 4 various firmware (.bin) files needed (apart from the FW upgrade utility) which is rather uncommon. I managed to upgrade successfully without any problem. The reason to do so is that this procedure of upgrading FW changed my previously set time zone and therefore affected my local time. Thus, do a FW upgrade first, then set your time zone. The rest is set automatically by the integrated GPS feature which is very handy and one of the reasons why I purchased this mount. The GPS status is ‘ON’ after powering the mount on, but in few minutes it changes to ‘OK’ to indicate successful GPS time and location update. Obviously it works in the field, not in-house. Another reason, why I had to upgrade the firmware was that I was unable to connect from PC to the mount over RS-232 cable (COM port). The driver was claiming old FW.
TO BE CONTINUED…
References
Pingback: iOptron iEQ30Pro review – PART#2 – first night out | Xpírijensis astrofotografa